The complete step-by-step guide to create and deploy your multi-language website - Part 3

This is the third post on how to create your website step by step! In this post, we will allow that people can comment on your awesome posts!
Table of content for the whole tutorial
- Part 1 - Minimum working example
- Part 2 - Adding a blog section and deploy it!
- Part 3 - Adding comments
- Part 4 - Multi-language support
- Part 5 - Adding a personalized domain
- Part 6 - Adding stastics
- Part 7 - Adding a email inbound section
Comments by default!
Hugo already come with support for a couple of platforms. In this tutorial, I will use Disqus as the tool for comments. I’ve been using Disqus for a long time and it served me quite well over the years. There’s some alternatives available, but for this tutorial I will stick to what I know!
Setting up Disqus
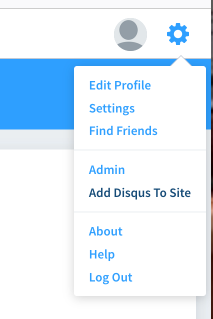
Once you create your account, you can go to the settings of Disqus and click Add Disqus To Site:
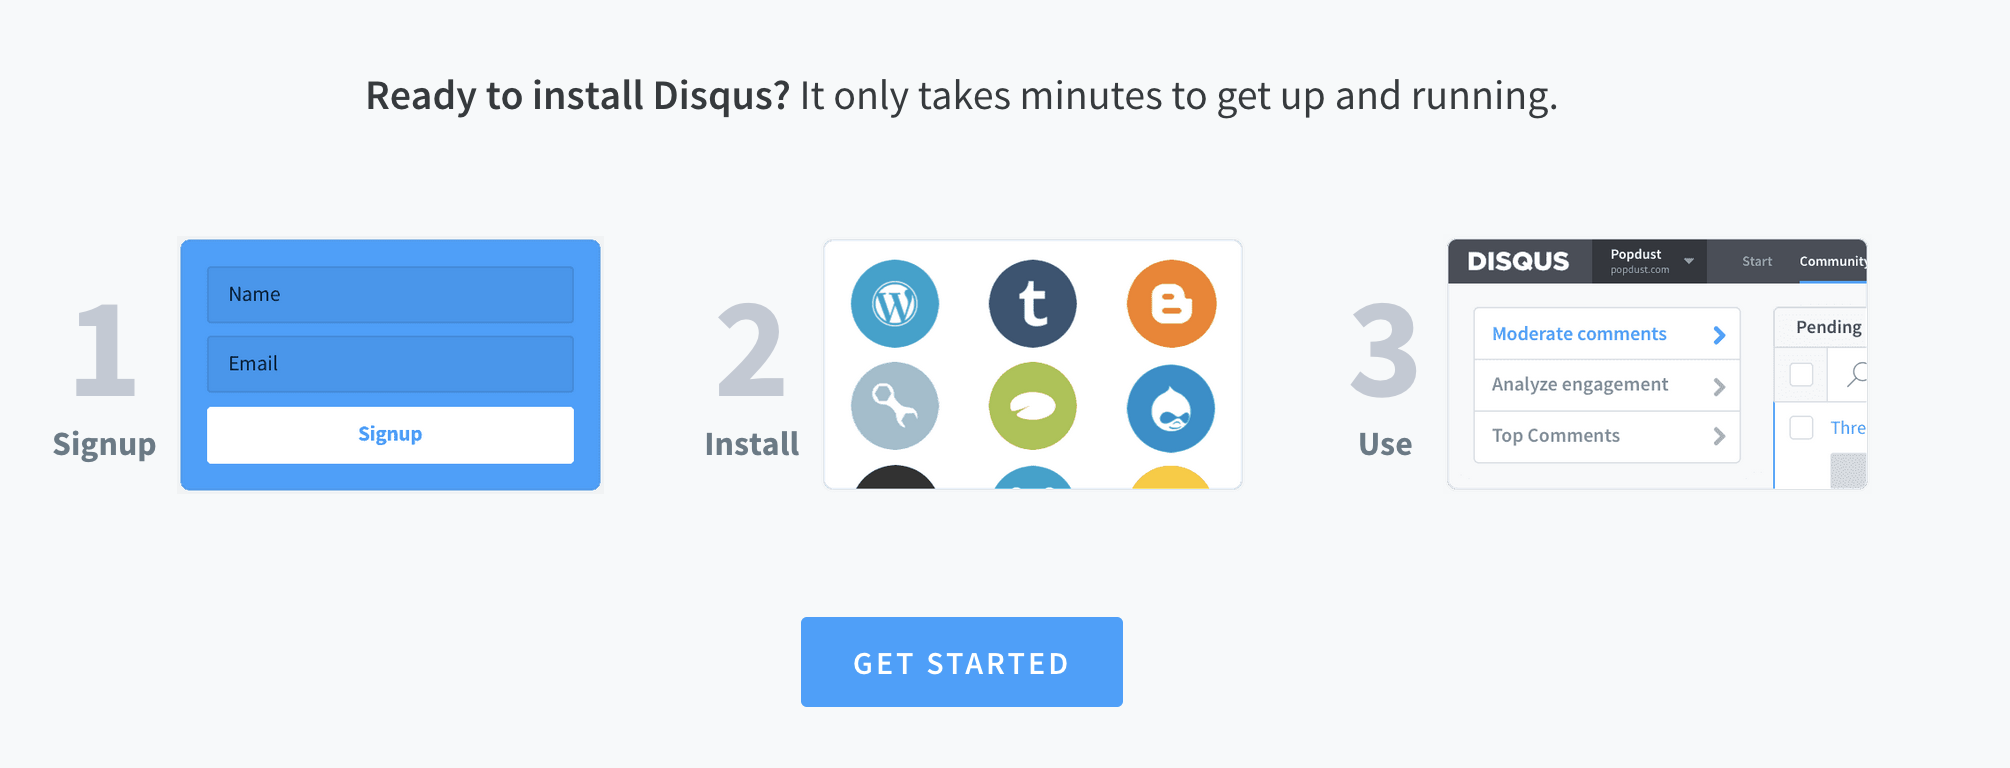
This will lead you to a very crowded page, but if you scroll down a bit you can fin a Get Started button:
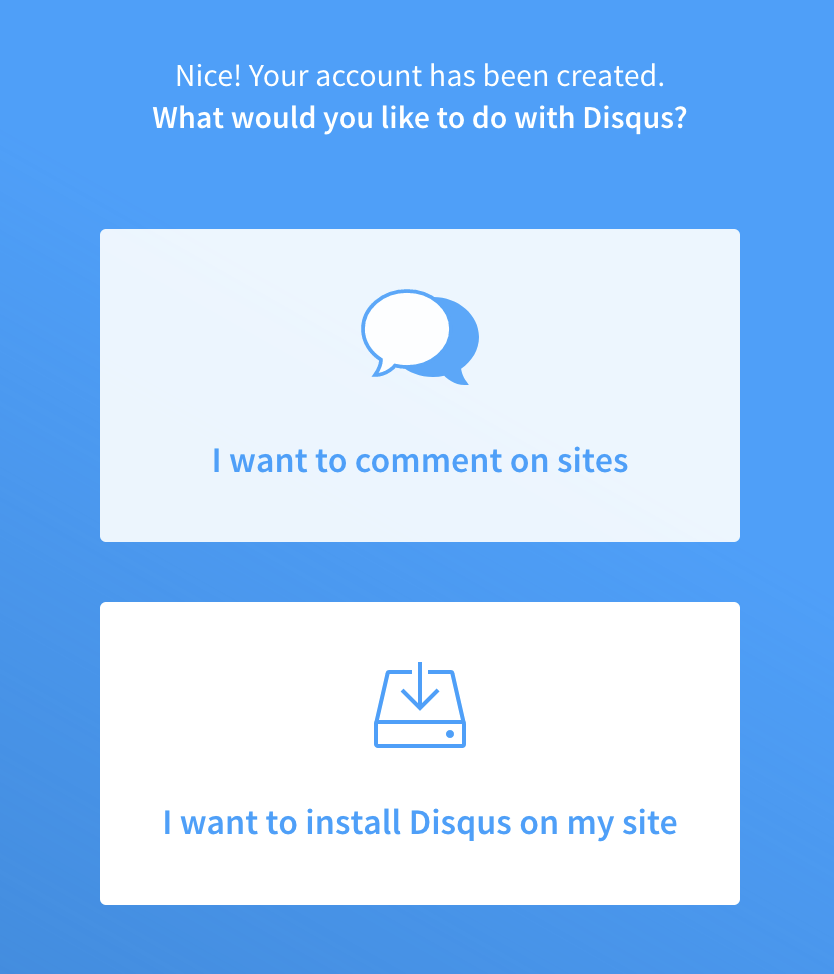
Then you can click on I want to install Disqus on my site:
Step 1: define an unique id
Now we will start the configuration specific to your website. You will need to create a unique ID for your website on the Website Name field:
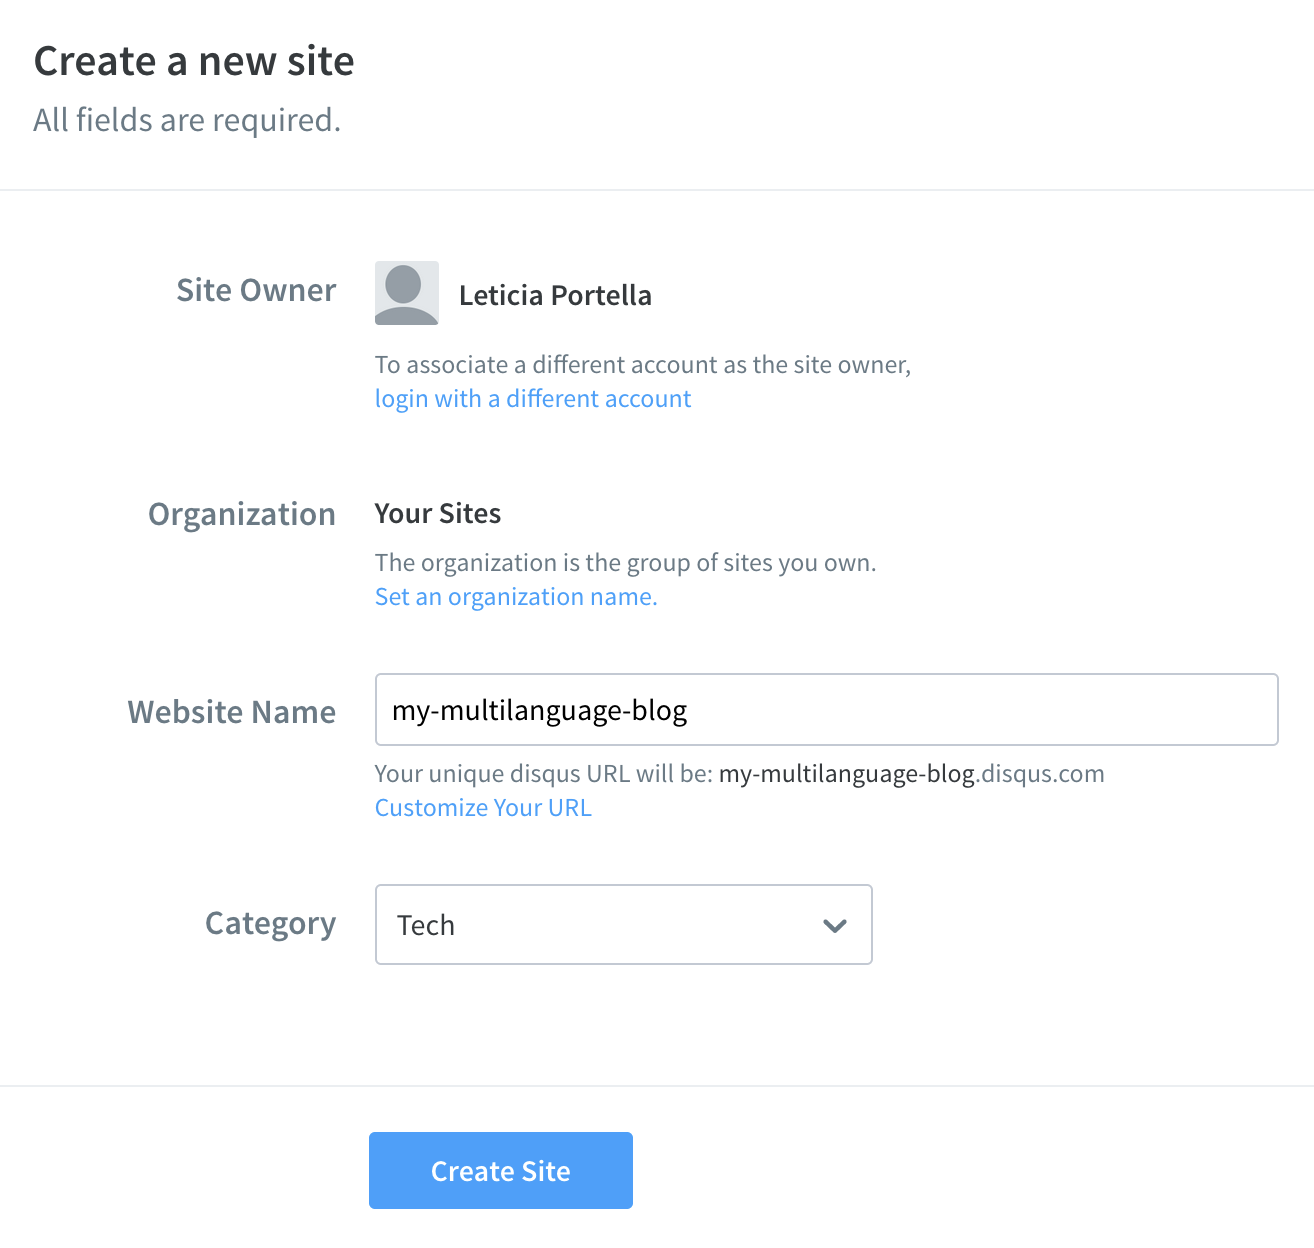
Make sure you pick up a name that wasn’t used before. Disqus will let you know if the id you defined is not unique and will add an additional number to make it unique, like the following:

Make sure you know which unique ID Disqus is using, you will need it later!
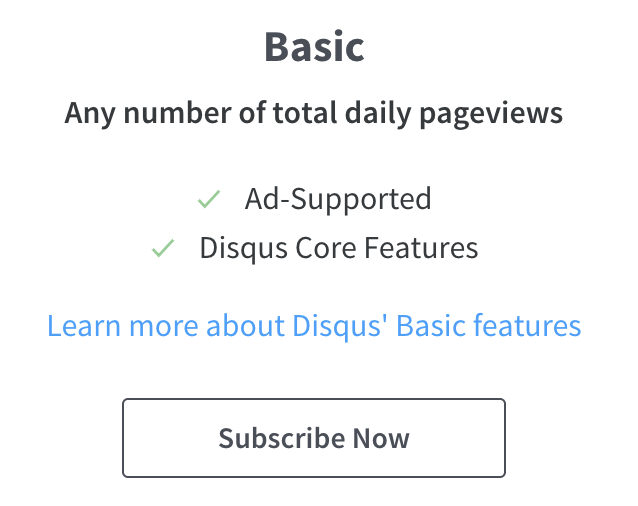
Step 2: Choose your plan
Now Disqus will offer you tons of paid features. I selected the Basic one that is free:
On the next step, Disqus will ask you which platform you’ll use it. Unfortunately, Hugo is not listed as one of the options. It’s fine! You can select Jekyll, which is a similar tool. You will have a screen on how to install it, but you can click on Configure and move on to the next screen.
Step 3: More configuration
On the 3rd part of the configuration, You can configure a couple of things here regarding color schemes, website name, etc. You can leave it all blank for now and come back to it later, if you prefer. We don’t need any configuration here unless you want it.
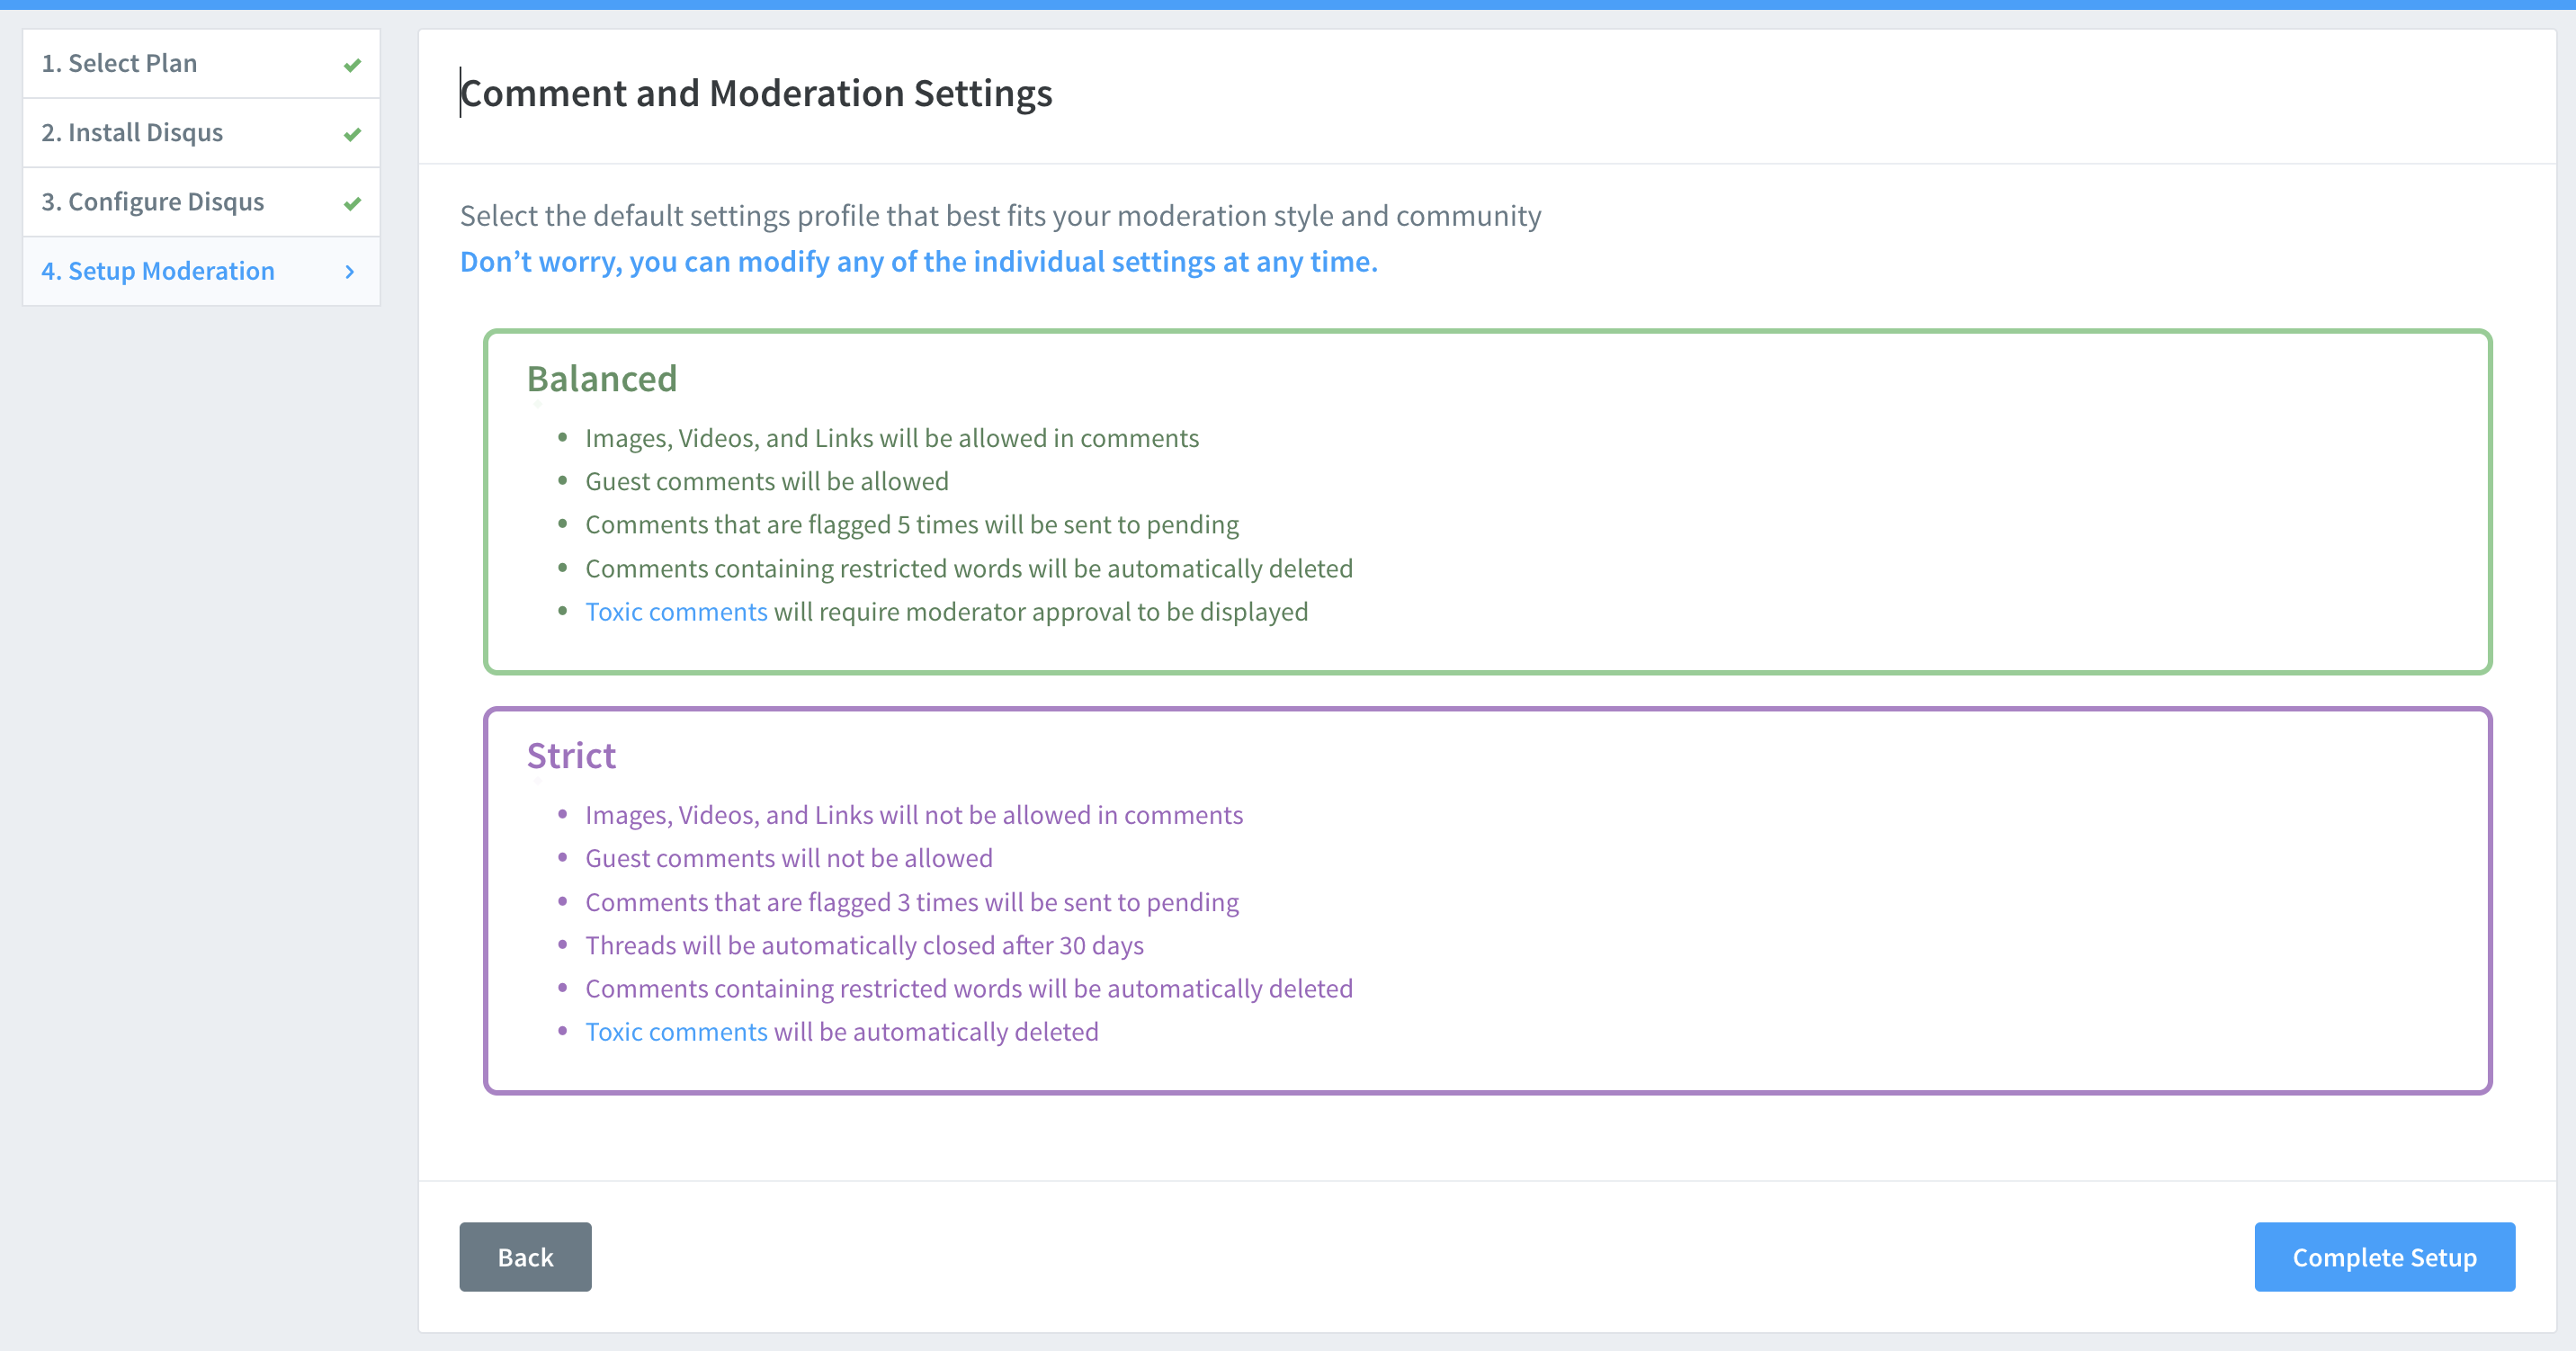
Step 4: Define your moderation style
Finally you can decide how strict will the moderation be. You can edit and change this later, so feel free to choose whatever you feel is best:
Step 6: Add it to your website
Now we can go back to the config.toml file and add the following line (using the unique ID you defined in step 1):
disqusShortname = "my-multilanguage-blog"
Now if you run the Hugo server locally and go to your post you will get the following message:

You can commit this 1 line change and push it 🙂
git add config.toml
git commit -m "add disqus"
git push
As soon as Netlify deploys the change (seconds) you can go to your to your post and see that the comments are there \o/ :
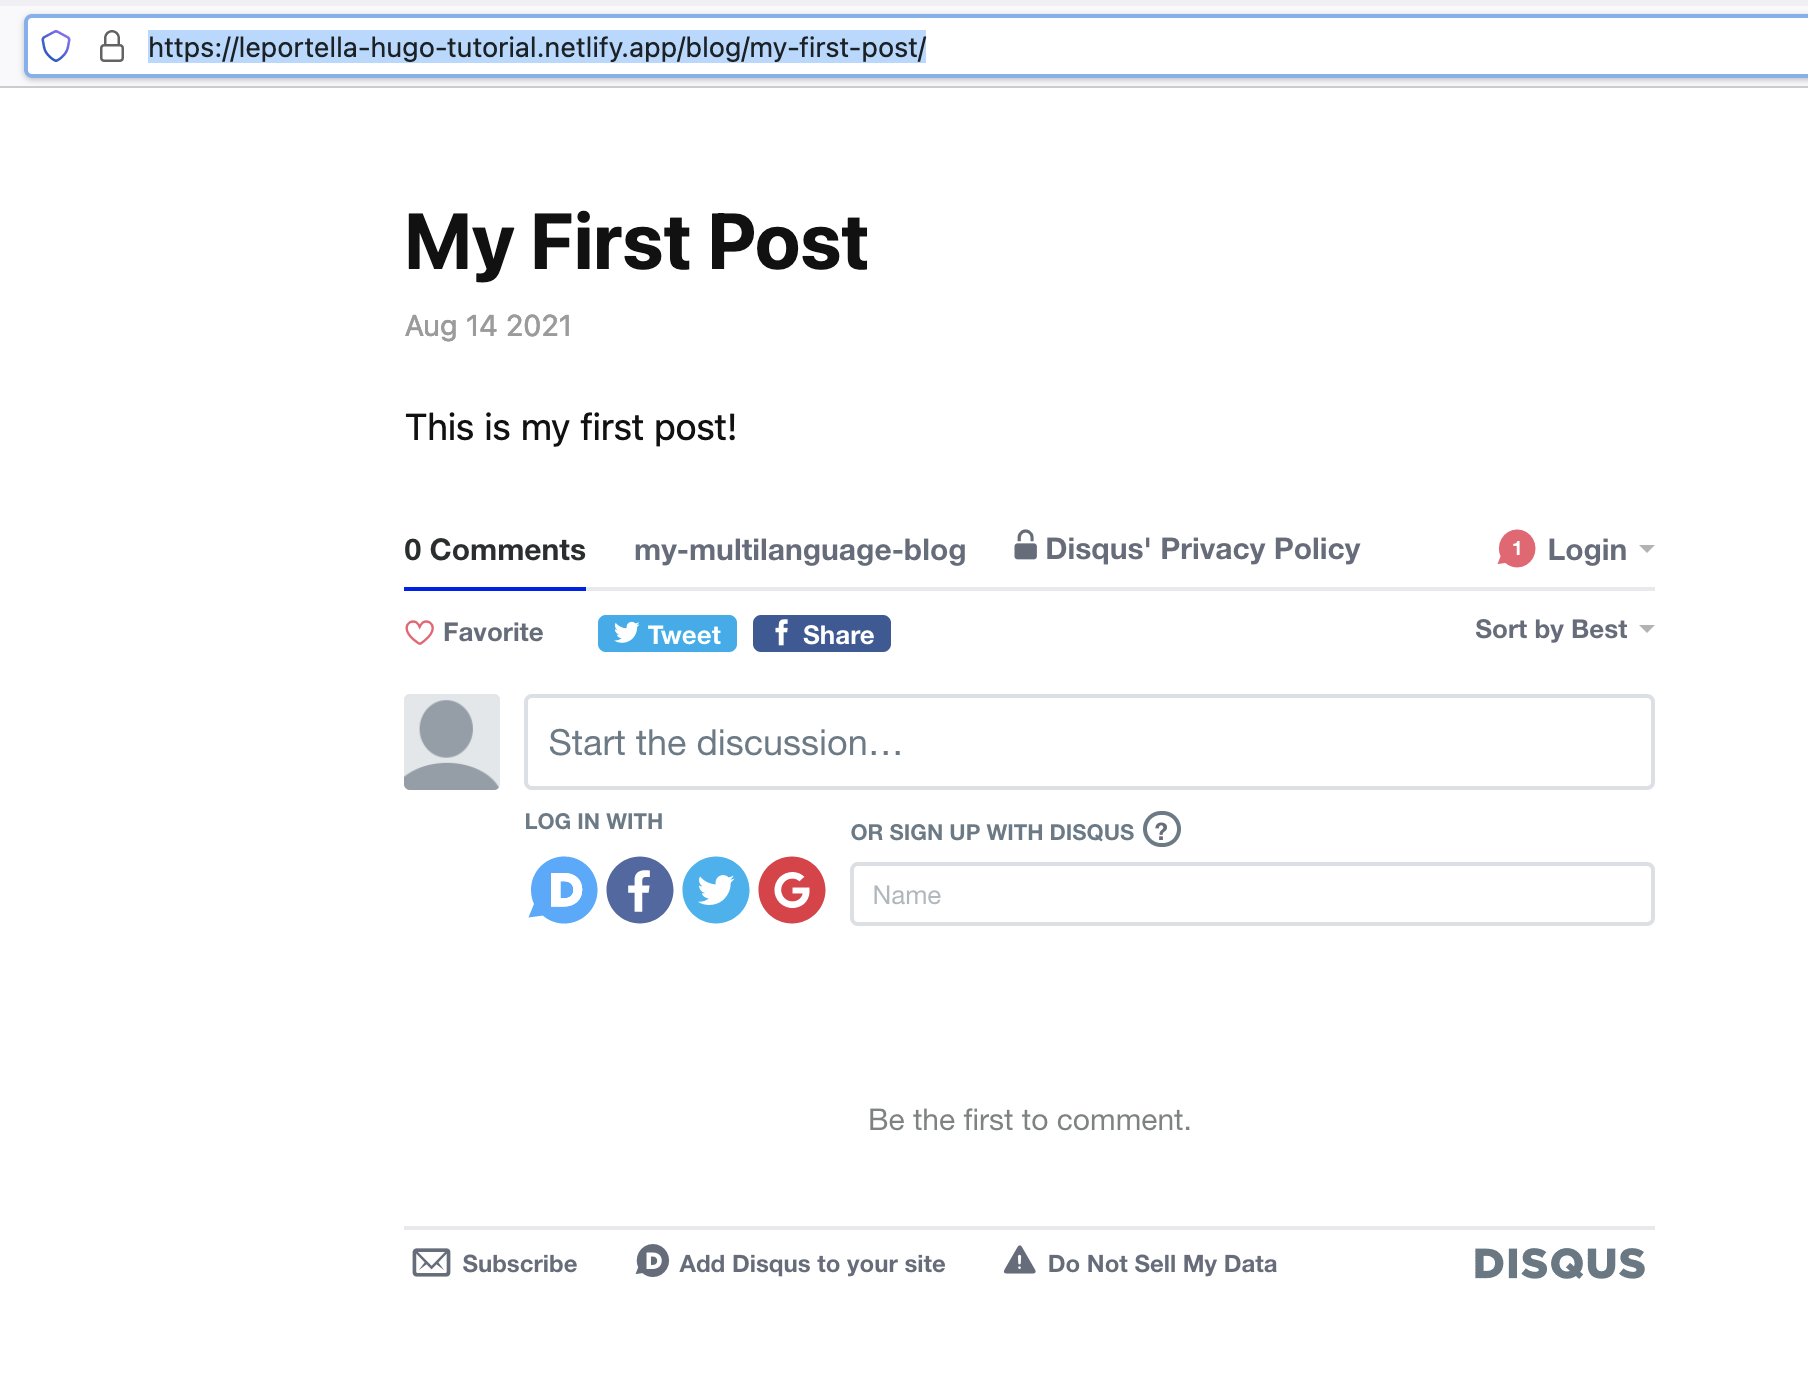
Done! You are ready to receive comments on the awesome posts you will write :) Congratulations!
❤ Cheers! Letícia