The complete step-by-step guide to create and deploy your multi-language website - Part 2

This is the second post on how to create your website step by step!
Table of content for the whole tutorial
- Part 1 - Minimum working example
- Part 2 - Adding a blog section and deploy it!
- Part 3 - Adding comments
- Part 4 - Multi-language support
- Part 5 - Adding a personalized domain
- Part 6 - Adding stastics
- Part 7 - Adding a email inbound section
In this part, you will need:
- An account on Netlify
First blog post
On the last post we created a single landing page but what about we add a blog section?
We can create a blog/ folder and a new blog post by using the following command:
hugo new blog/my-first-post.md
If you open this new file, you will see that there is some basic information:
---
title: "My First Post"
date: 2021-08-14T14:59:13+01:00
draft: true
---

This is my first blog post!
This is the metadata of the blog post. Anything you add between both --- will not be rendered. The blog post itself should live right after it.
If we go back to the website, there is no way of finding this blog post! We still don’t have a menu to access this, but if we go to /blog we can see that our brand new blog post is there!
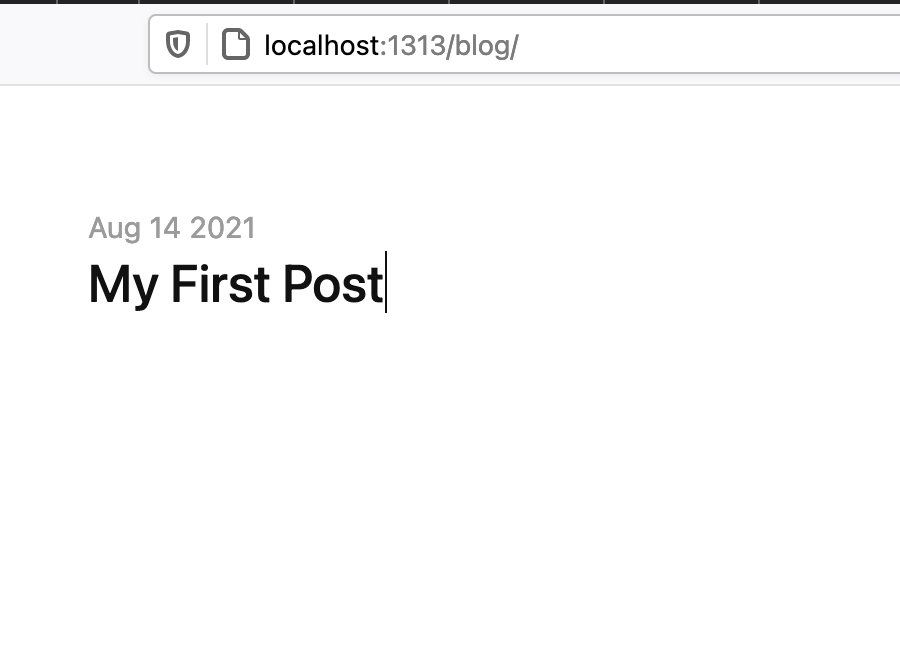
🚨 Attention: You need to change the draft: true to draft: false or the listing page won’t work because there will be no post to be listed.
Let’s add a menu!
We need to have a way to access the list of blog posts. We can do that by adding a menu area in the config.toml file, like the following:
[[menu.main]]
  identifier = "blog"
  name = "blog"
  title = "Blog"
  url = "/blog"
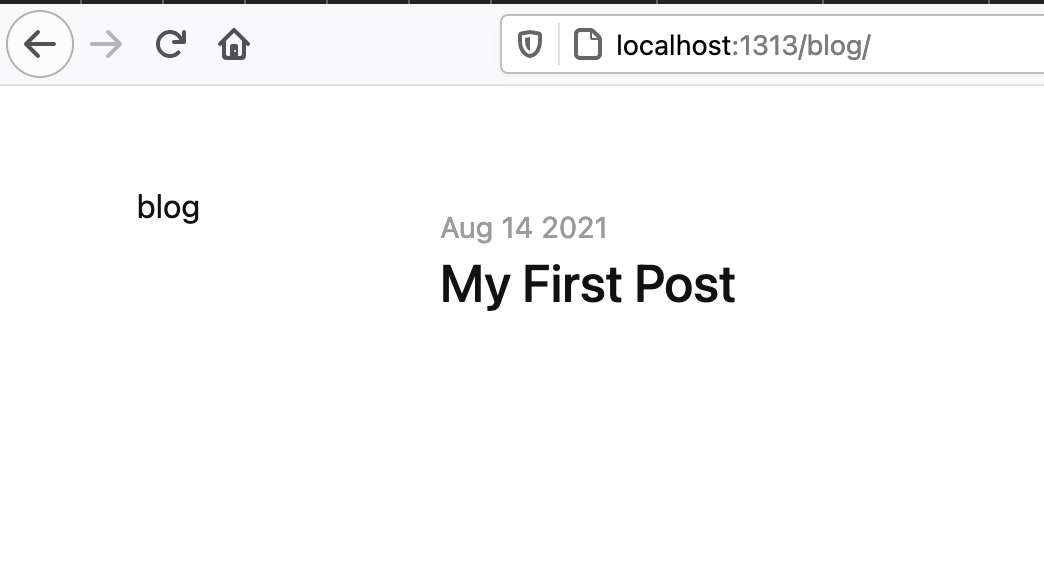
Now if we check our website, you can see that a menu appeared on the left site, with the name “blog” in it:
Understanding content/ structure
Right now, we have 2 things in the the content folder: a file, _index.md, and a folder called blog/. Regardless of where it is, each file will represent one page of the website. In this case, this theme uses the _index.md as base for the main page, but we can create a new file for an About page, for instance, like this:
hugo new about.md
You can access this page on /about.
However, let’s say that instead of a single file you create a new folder called portifolio, and add a new project on it:
hugo new portifolio/my-first-project.md
If you then access the /portifolio endpoint, you will notice that this will list this new page, just as we had on the /blog.
So in Hugo, every directory will lead to an endpoint for listing files while each file is a webpage! Now that you know that and how to add pages on the menu, you can create the website you want!
Commit you changes and make sure that they are on the Github remote repository!
Let’s deploy it!
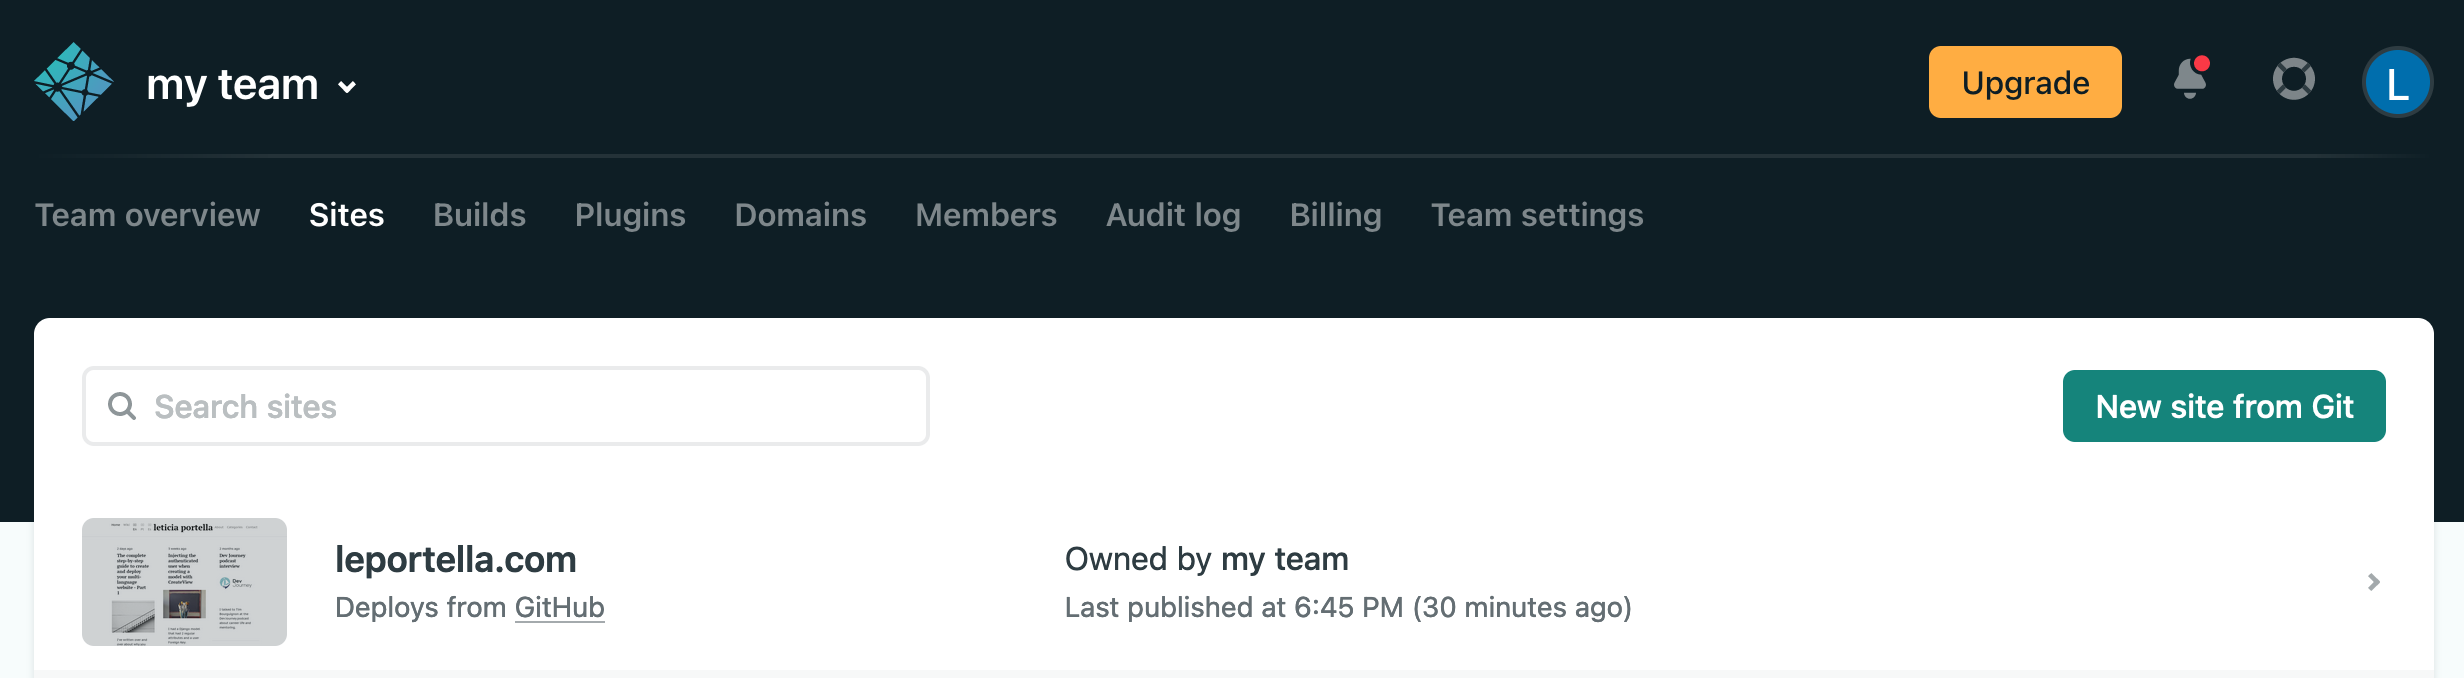
Now you need to get to your Netlify account. Once you have it all configured go to Sites and then New site from Git.
Select Github (if you are using it) and then select the repository you have your website code
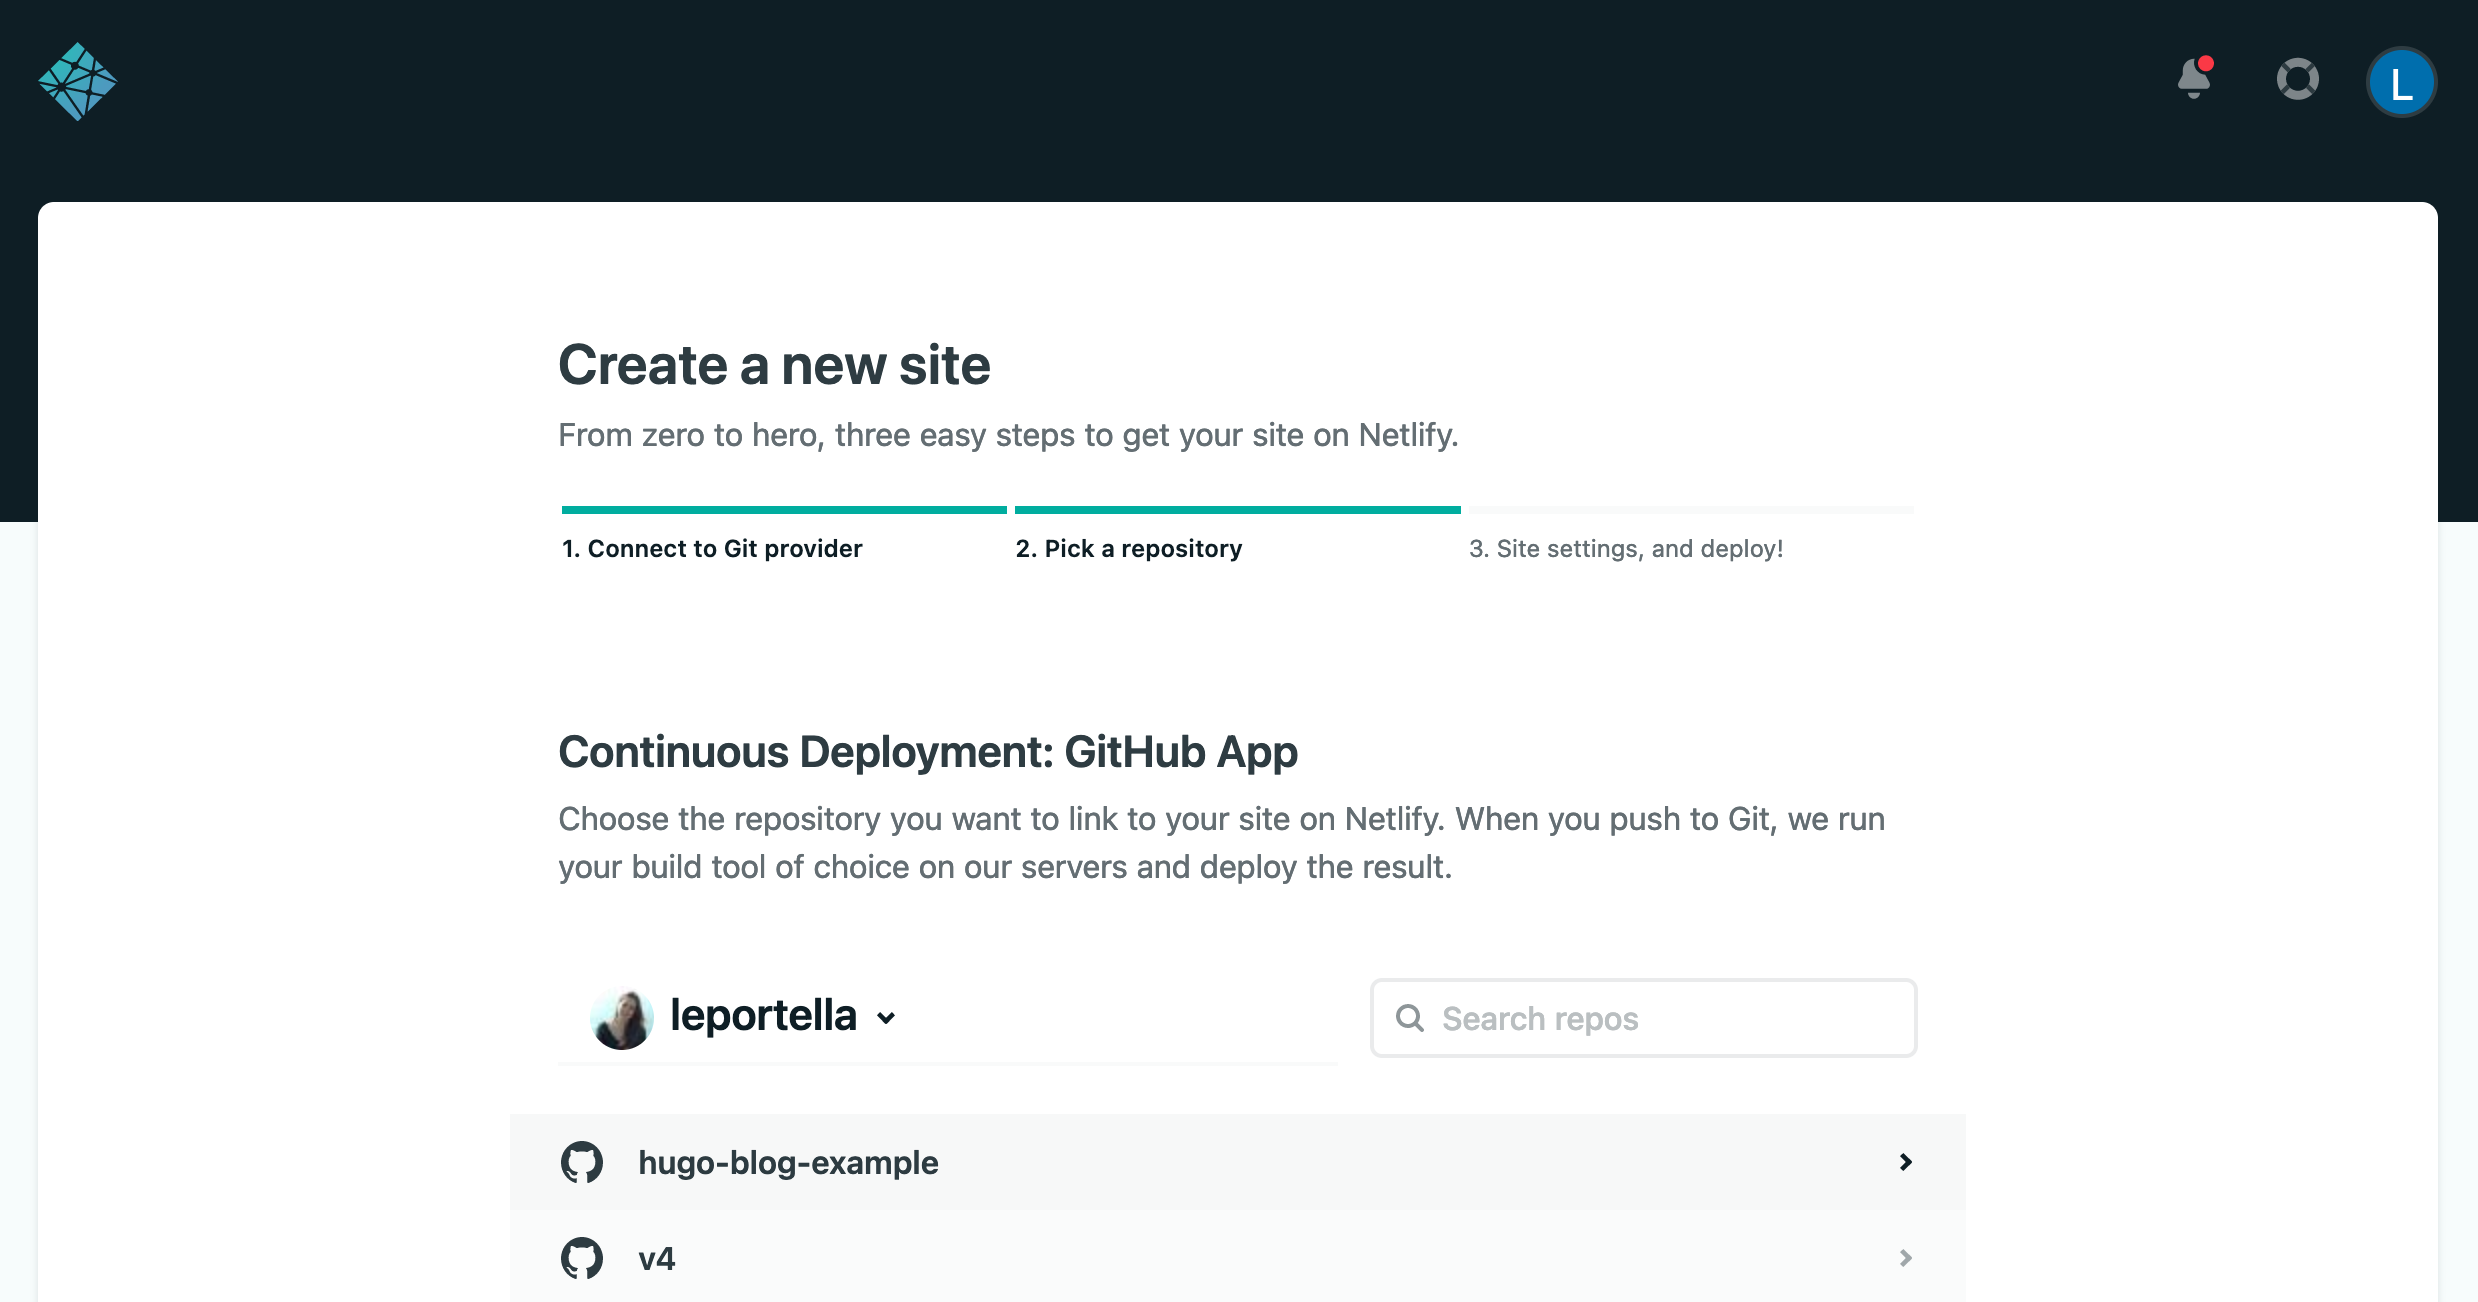
🚨Attention: if you don’t see your repository here, you might not have it authorized. Make sure you go to this link and configure Netlify to see the chosen repository.
On the last step you can leave all the configurations as the default values. Click Deploy site to finalize it.
Giving it a proper name
You can see that your website is now deployed with a random name and hash. You can use this link to access it!
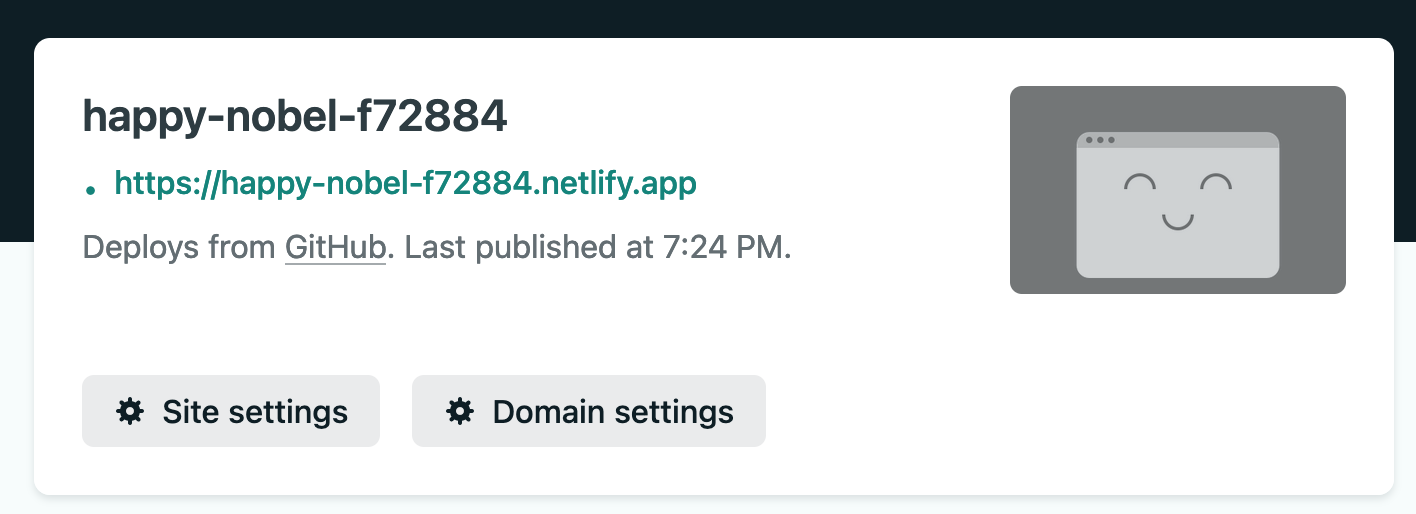
This is nice but not quite an ideal name, right? You can click on Site Settings then Change site name and finally add the name you would like. Your final website link will be this name .netlify.app . If you want, you can check out mine: leportella-hugo-tutorial.netlify.app 🤩
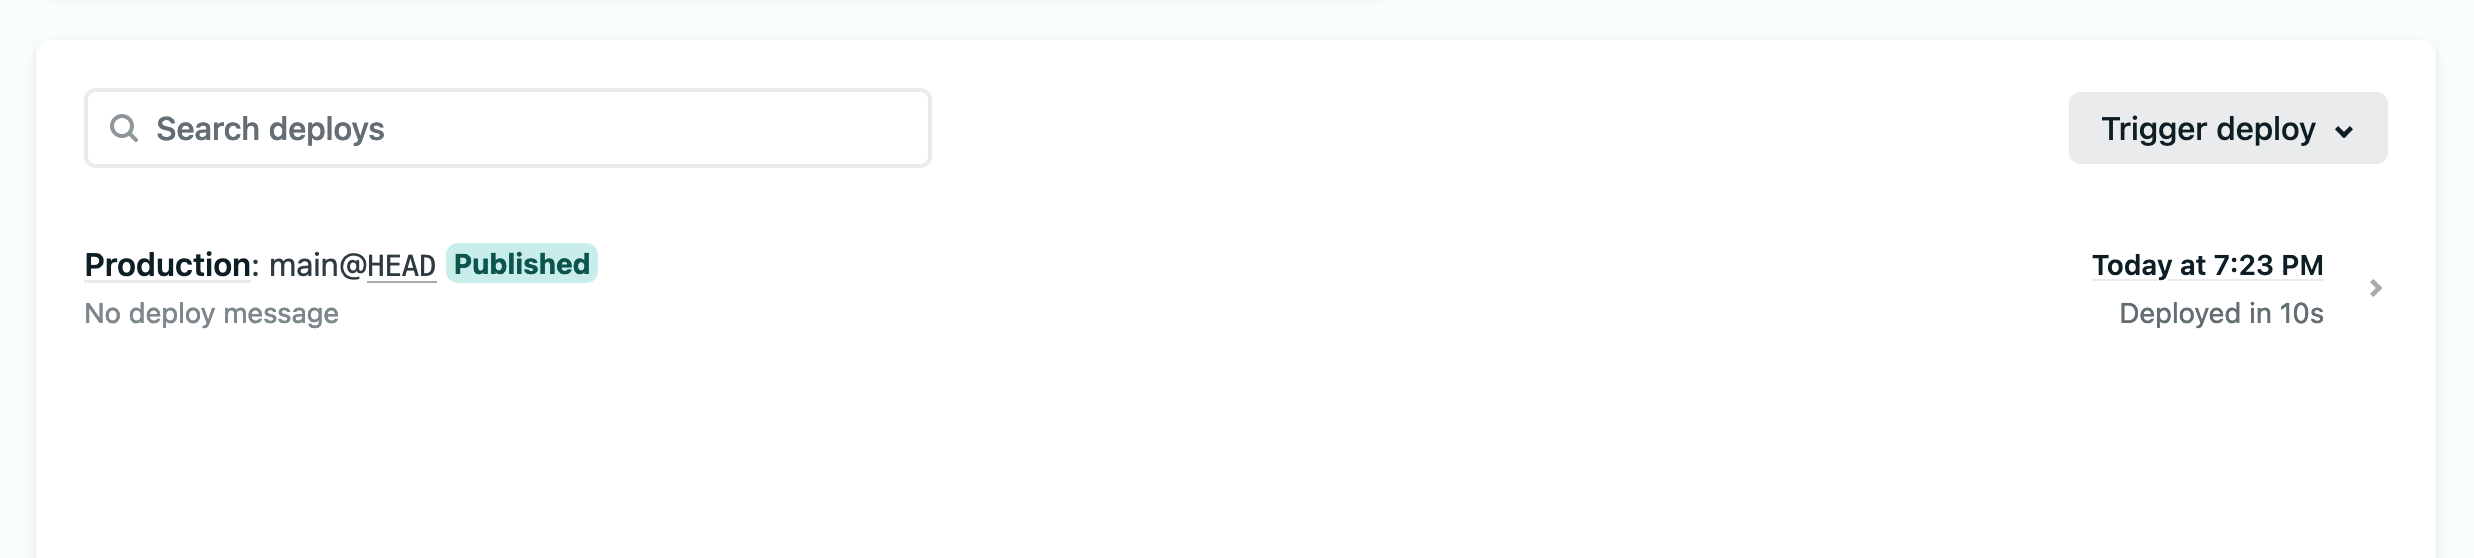
Checking your deploys
On Netlify’s menu, you can click on the tab Deploys. You can see the list of past deploys and the status of them. Everytime you push a commit to the repository, it will appear here and trigger a deploy. You can also trigger a deploy manually if you wish to do so :)
Wait… where are the images?
If you open your website now you will see that the Twitter icon you were seeing on the local environment is not working anymore. If you inspect the website, you’ll see that the url for the SVG image is actually https://example.org/svg/twitter.svg. That doesn’t sound right!
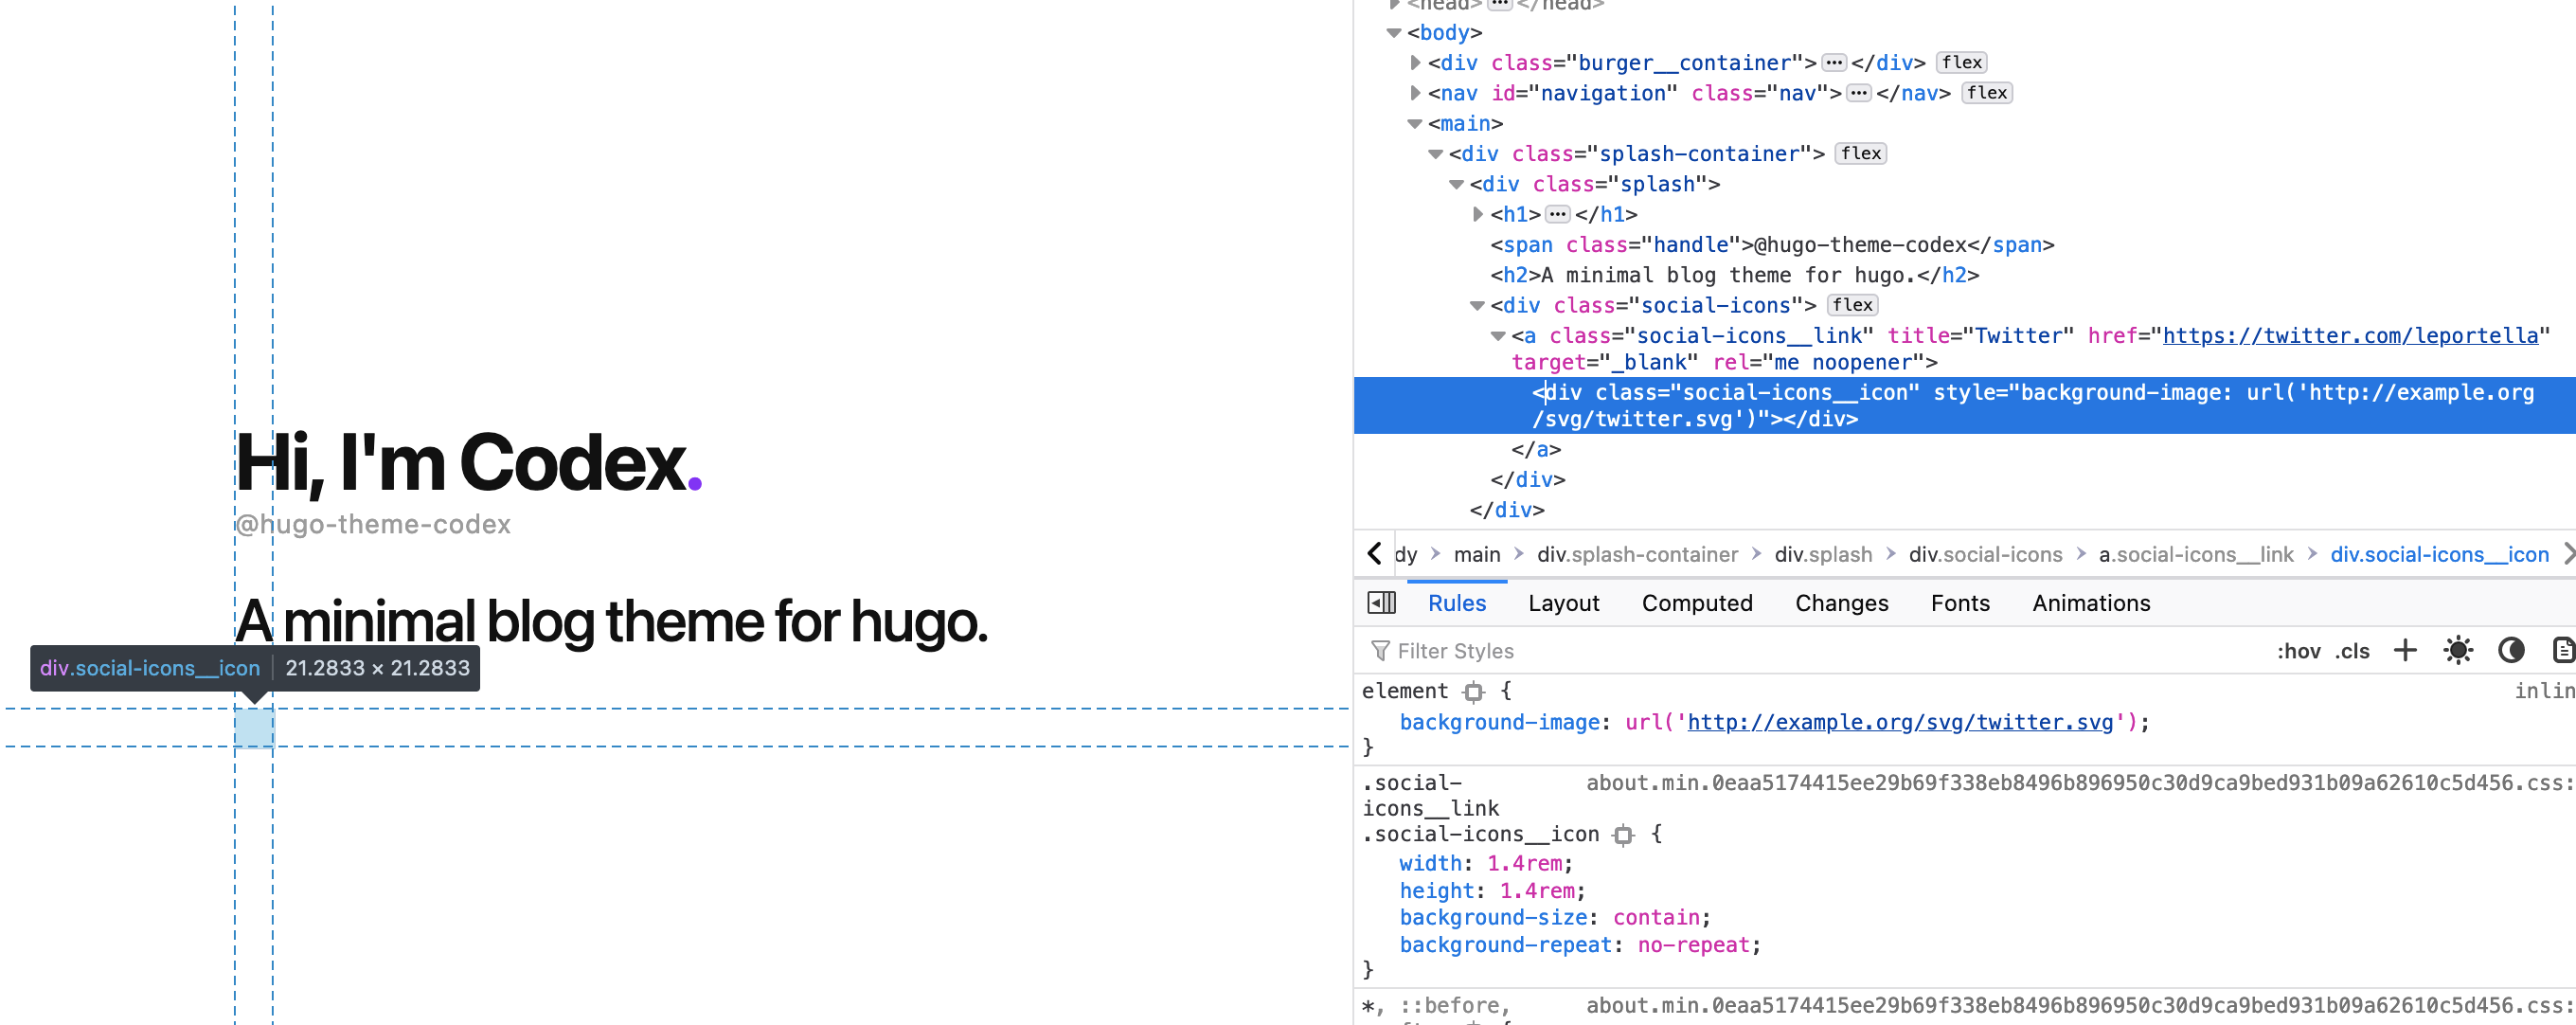
Now that the website has a url, we need to change the baseUrl configuration on the config.toml file:
baseURL = "https://leportella-hugo-tutorial.netlify.app"
Now once you commit this, the deploy will be triggered and it will all work out :)
Next steps
As you can see, it’s quite easy to bring your website up and running. However, there is still a lot to be done to personalize it! All the following tutorial steps are optional and you can choose to do the ones you feel like it!
As usual, you can also see all the code (and check it commit by commit) on my example repository.
❤ Cheers! Letícia